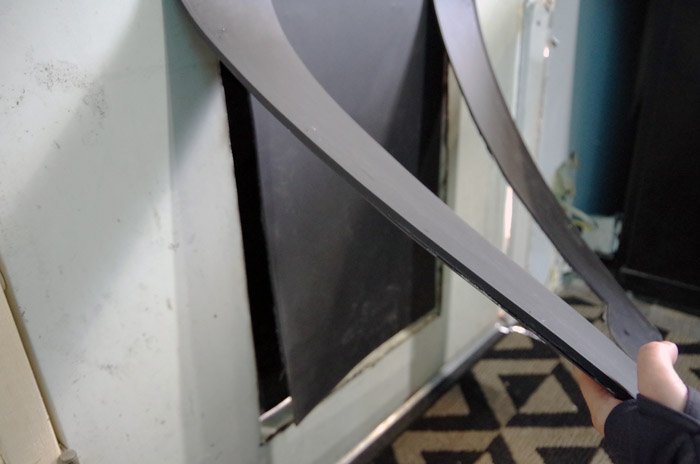
How to Make a Doggie Door: A Step-by-Step DIY Guide

Wondering how to make a doggie door that’s affordable, functional, and fits your pet’s needs perfectly? Whether you’ve got a feisty terrier or a calm Labrador, giving them the freedom to come and go can transform their happiness—and your home life. A doggie door not only enhances pet independence but also reduces constant door duty for owners.
In this detailed guide, we’ll walk you through everything you need to know about creating your own doggie door—without needing a contractor or blowing your budget. From choosing the right location and measuring your pet to cutting the frame and weatherproofing the final product, we’ll cover it all. You’ll also find answers to common concerns like home security and insulation. Ready to give your furry friend a taste of freedom? Let’s dive in.
Why a Doggie Door is Worth It
Adding a doggie door isn’t just a convenience—it’s a lifestyle upgrade. Here’s why:
- Pet independence: No more barking or pawing to be let in or out.
- Time-saving: Frees up your routine, especially during early mornings or late nights.
- Health benefits: Encourages more exercise and reduces indoor accidents.
Choosing the Right Type of Doggie Door
Based on Installation Location
- Door-mounted: Ideal for most homes; installed directly into a wooden or metal door.
- Wall-mounted: More complex but allows flexibility in placement.
- Sliding glass insert: Good for renters; fits into existing sliding doors without permanent changes.
Based on Design and Function
- Flap-style: Most common and cost-effective.
- Electronic: Opens only when your pet’s microchip or collar sensor is nearby.
- Weatherproof: Designed for extreme climates with insulation features.
Tools and Materials You’ll Need
Before you start, gather these essentials:
- Jigsaw or hand saw
- Drill with bits
- Screwdriver
- Measuring tape
- Pencil or marker
- Safety goggles and gloves
- Doggie door kit (or DIY materials like flap, frame, hinges)
- Sandpaper
- Caulking/sealant (optional for weatherproofing)
Step-by-Step: How to Make a Doggie Door
Step 1: Measure Your Dog
Use these guidelines for sizing:
- Width: Add 2 inches to your dog’s widest point.
- Height: Measure from the top of the shoulders to the bottom of the chest.
- Bottom of door: Should sit just below your dog’s chest so they can step through comfortably.
Step 2: Select the Location
Pick a location that is:
- Accessible from inside and outside
- Away from electric lines or plumbing
- Not obstructed by furniture or landscaping
Step 3: Mark the Cutout
- Use the template provided in your kit or trace your own.
- Tape the template to the door.
- Double-check alignment—bottom should be level and centered.
Step 4: Cut the Opening
- Drill holes in the corners of your outline.
- Use a jigsaw to cut along the lines.
- Wear protective gear and work slowly for clean edges.
Step 5: Install the Frame
- Insert the frame into the opening and screw it in securely.
- Some kits include inner and outer frames that snap together.
- For homemade versions, construct a wooden or metal frame and secure with screws.
Step 6: Attach the Flap
- Screw or hinge the flap at the top of the frame.
- Ensure the flap swings freely but returns to position to block wind or pests.
Step 7: Weatherproof the Edges
- Apply weather stripping around the frame to prevent drafts.
- Use caulking if necessary to seal gaps, especially in wall installations.
Common Mistakes to Avoid
- Cutting without measuring twice: Inaccurate cuts can damage your door.
- Ignoring insulation: A poor seal increases energy bills.
- Choosing the wrong height: Makes it uncomfortable or unusable for your pet.
- Not considering security: Pet doors can become access points for intruders if not secured.
Security Considerations
Many homeowners worry about intruders or wildlife using the pet door. Here’s how to address that:
- Use locking flaps: Some come with sliding panels or latches.
- Install electronic doors: These open only for your pet.
- Keep it out of sight: Don’t install the door facing the street.
Maintenance Tips
- Clean the flap weekly: Remove dirt and paw prints.
- Check screws monthly: Ensure the frame is tight and stable.
- Replace worn-out flaps: Most are easy to unscrew and swap.
Alternatives If You Don’t Want to Cut Your Door
If cutting your actual door doesn’t appeal to you, consider:
- Sliding door inserts
- Temporary pet doors for renters
- Window-mounted versions for small dogs
- Screen door attachments
These offer the same benefits without making permanent changes.
Cost Breakdown
Here’s what you can expect to spend:
| Item | Price Range |
|---|---|
| DIY Flap Materials | $15 – $40 |
| Pre-made Doggie Door Kit | $30 – $150 |
| Tools (if not owned) | $0 – $100 |
| Optional Security Add-ons | $20 – $100 |
Total cost can be as low as $30 for DIY and up to $250 for premium kits and tools.
Benefits for Different Dog Sizes
| Dog Size | Recommended Door Height | Considerations |
|---|---|---|
| Small (under 20 lbs) | 10″ – 12″ | Lightweight flap, low height |
| Medium (20–50 lbs) | 14″ – 18″ | Moderate flap strength |
| Large (50+ lbs) | 20″ – 24″+ | Strong frame, secure latch |
Conclusion
Making a doggie door yourself can be a smart, cost-effective way to give your pet more freedom while making your life easier. As long as you measure carefully, use the right materials, and seal everything properly, your DIY project can rival even commercial pet doors in performance and durability.
So now that you know how to make a doggie door, are you ready to give your pet a little more freedom—and yourself a little more peace?


